
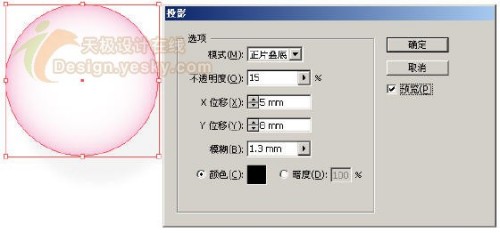
图8
9.选择工具箱中的“椭圆工具”,在如图9所示位置画一个椭圆,填充颜色设置为白色,描边色设置为无。
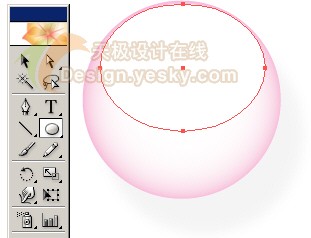
图9
10.选择工具箱中的“直接选择工具”,选中椭圆下方的锚点,拖动两侧的调节手柄,将其改变成如图10所示的形状。
提示:在进行这一操作之前,可以先选中下方的圆形,然后按Ctrl+2将其锁定。这样可以便于进行后面的操作。
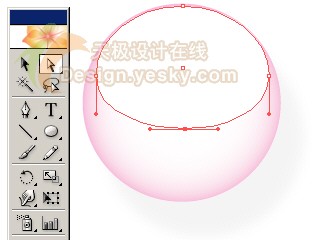 图10
图10 11.在“不透明度”面板中将其不透明度改为37%,如图11所示。
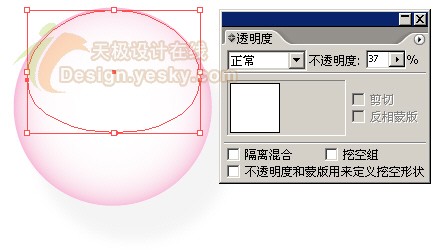
图11
12.先将上面绘制的椭圆锁定,然后选择工具箱中的“椭圆工具”,再绘制一个如图12所示的椭圆,并将填充颜色设置为K24,如图12所示,描边色为无。
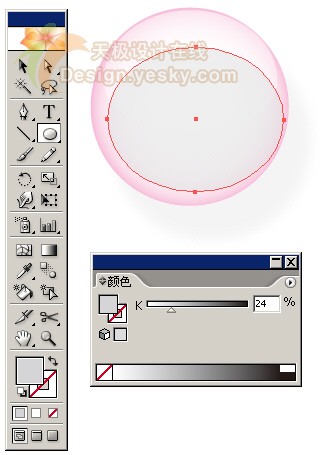
图12
13.选择工具箱中的“选择工具”,然后将椭圆旋转一定角度,得到如图13所示的结果。
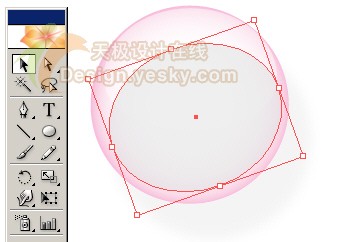
图13
14.选择菜单命令“效果|模糊|高斯模糊”,如图14所示。
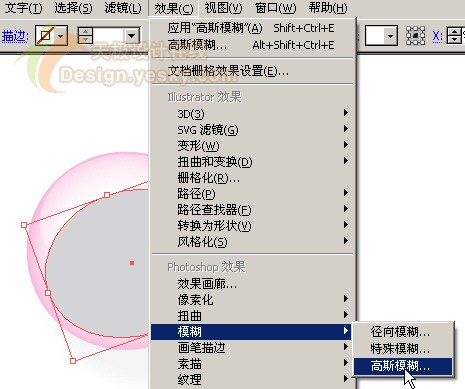
图14
15.在“高斯模糊”对话框中将“半径”设置为5像素,如图15所示。设置完毕单击“确定”按钮。


全部评论